Creating wage types
Via wage types, you can add different benefits to the payroll inPapershift.
We have already created templates for the most common benefits for all our users.
To use one of these, you have to do the following:
Click on the gear icon on the left-hand side in the navigation bar → Location settings → select the tab "Payroll" → you will find our template symbol next to the label "Actions"
You can now choose from the following templates in the new window:
-
Public holiday surcharge
-
Paid sick leave (hours)
-
Night surcharge
-
Normal wage
-
Sunday surcharge
-
Paid vacation leave (hours)
Store individual wage type
Proceed as follows to store your own benefit:
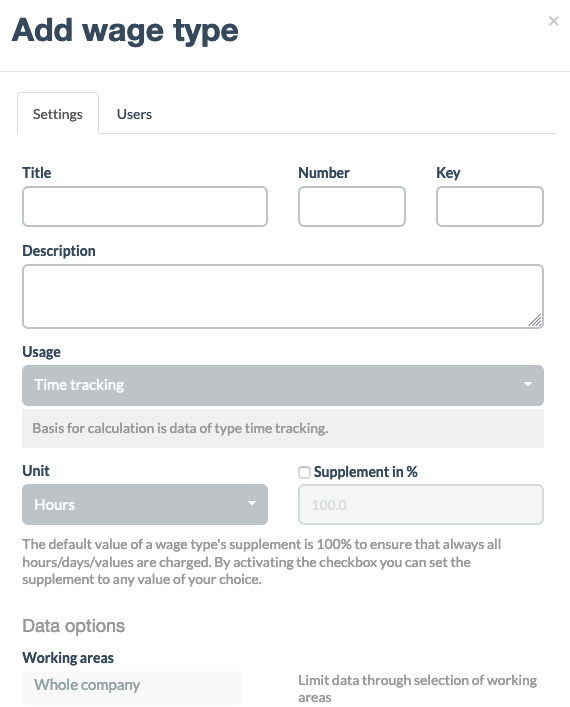
Click on the gear icon on the left-hand side in the navigation bar → Location settings → select the tab "Payroll" → a new window will open when you click on the green button "Add wage type"

You can now enter the desired settings for the benefit.
You first define a name, a number, and a key (important for processing by a tax consultant). If you like, you can also add a description that explains to other users when the benefit is applied.
In the next step, you select from the applications in the dropdown menu to which type of data this wage type applies. Depending on which data you select, further options in the settings of the wage type will change. Payrolls and wage types are quite complex, which is why we have written a short description about each option.
If you are not sure which option could be best for you, we will gladly chat to you about your special case by phone.
See wage types of the employees
After you have created the wage types and assigned the employees, you can have all the applied wage types displayed to you for each employee and adjust the values if desired.
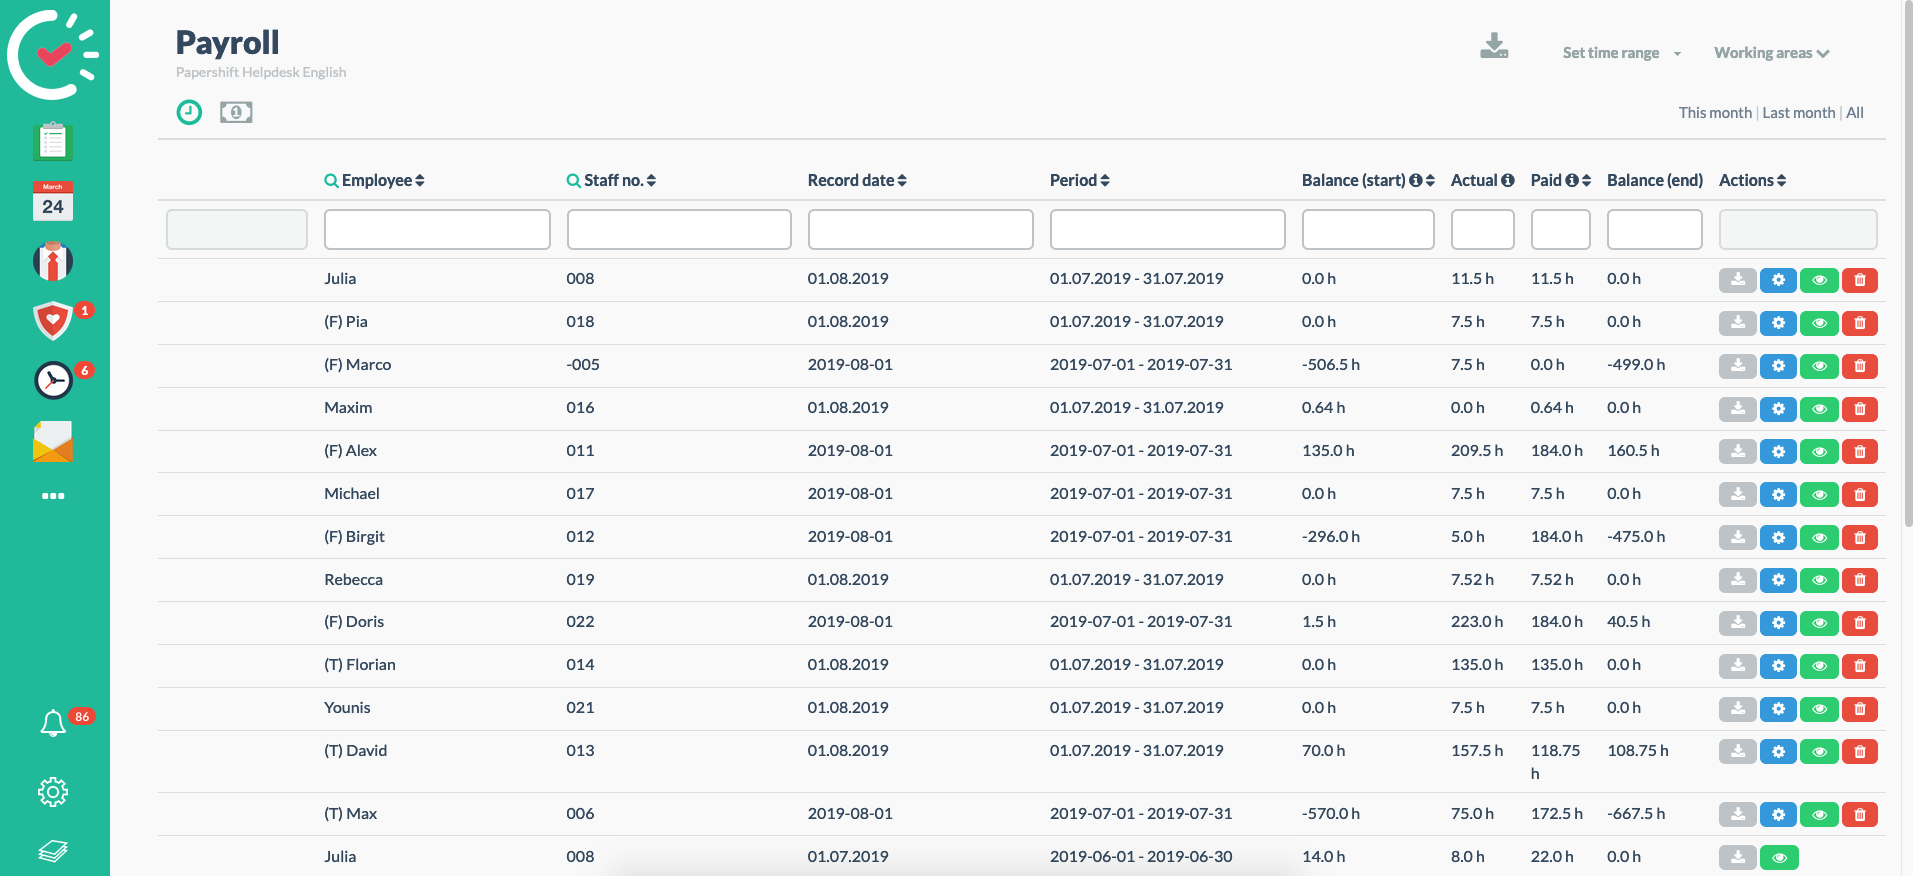
Click on the three dots in the navigation bar on the left-hand side → payroll → click on the bank note here to change the overview of the wage payroll
You can see all the payrolls here. After that, for better transparency, you can use filters again according to working areas, employees, or time periods.

You can edit the individual entries of the benefits via the gear icon. Depending on the wage type settings, the data are entered by the system automatically. If you have selected the application "Other"in the wage type settings, you manually have to enter the corresponding data in the selected unit into the respective wage type calculation.