Create Working Areas
To make the roster clearer and to show each employee only the required information, you can create working areas in Papershift.
Option 1: In the calendar
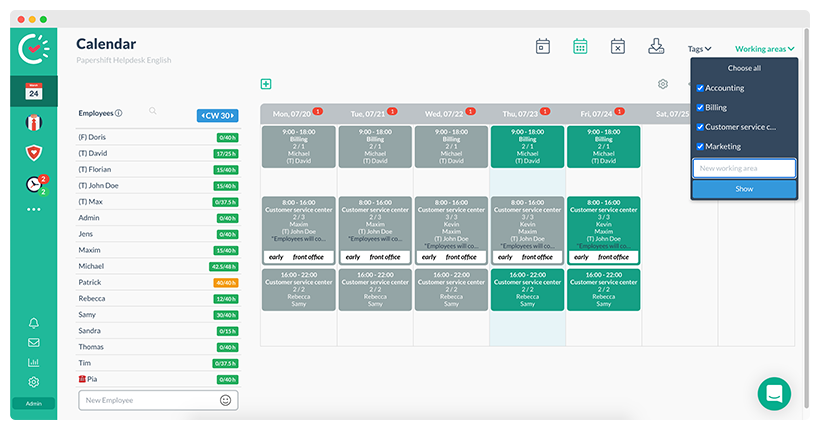
Click on the arrow next to "Working areas" in the upper right corner of the calendar → type the name of the working area into the white field → hit enter

The working area has now been created and all employees are assigned to it. This area can now be selected when creating a shift. A working area can also be created directly in the time tracking index (clock), the absence index (shield with heart), and the employee index (red tie).
Option 2: Location settings
If you do not want all employees to automatically be assigned to a working area, you can also create it in the location settings.
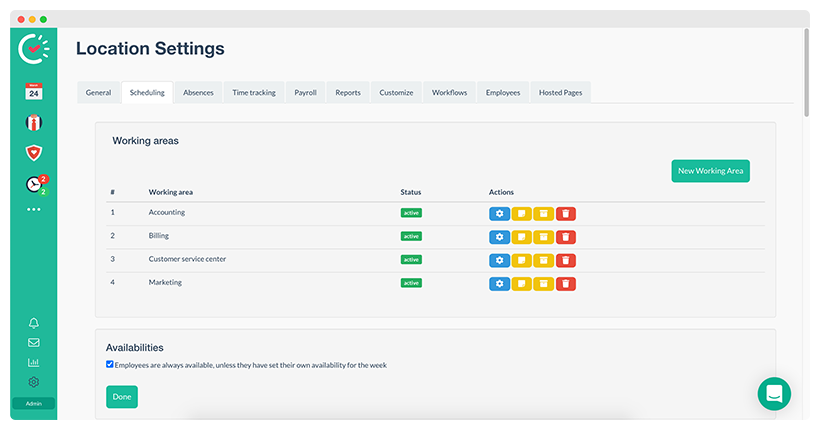
Click on the settings wheel in the bottom left corner → Location settings → "Scheduling" tab → under work areas → click on the green button "New Working Area" → write the name → save

Settings
Colors
You can choose a color for each working area. Click on the blue settings wheel next to the working area and select your desired color. The working areas are first sorted numerically and then alphabetically.
ATTENTION: If a color is selected, it is dominant! The standard red color when a shift is not yet filled and the green if a shift has enough employees assigned to it, are now only displayed as a colored frame around the shifts.
Subarea working areas
With the "turn into Subarea" option, you can create a hierarchy (up to four levels) of working areas. If you delete a working area that has subareas attached to it, you will be asked if you would also like to delete all the subareas.
EXAMPLE: Developer (Parent area) → Mobile team (subarea of "developer") → iOS (subarea of "mobile team") → App "x" (subarea of "iOS").