Creating locations & Location templates
You must have the "Superadmin" authorization to create a location.
If you have the required authorization, proceed as follows:
-
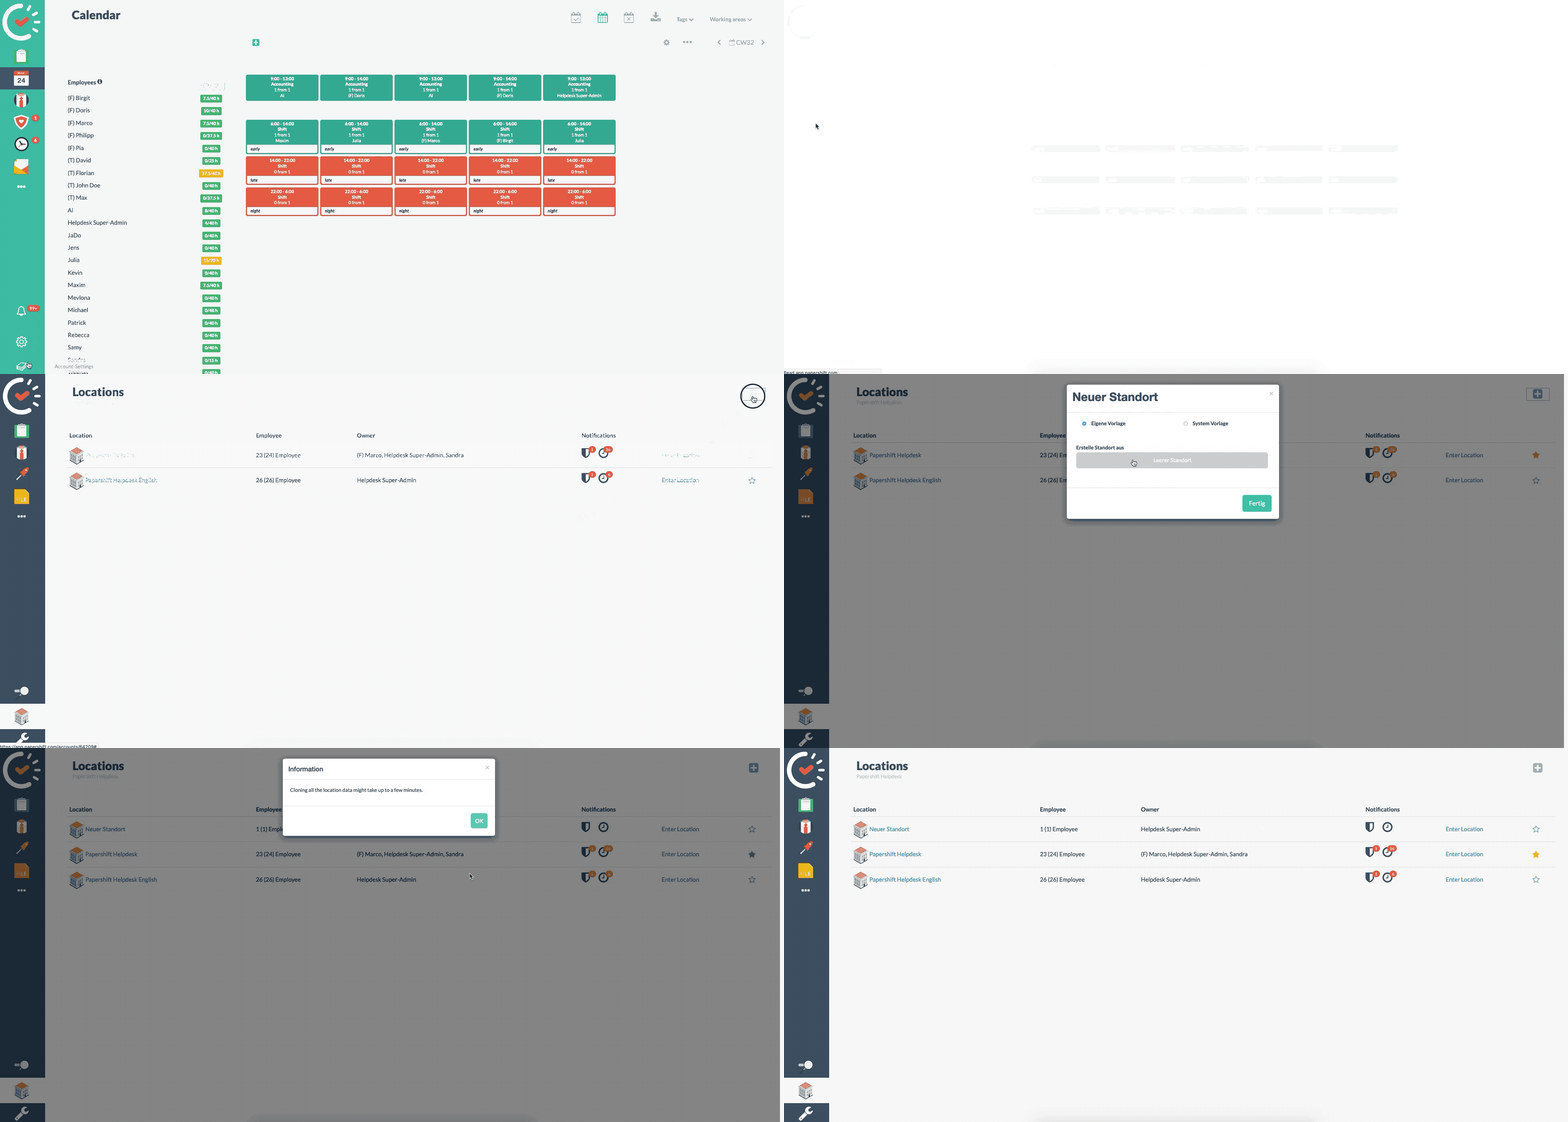
Click on the gear icon on the bottom left-hand side and select "Account settings".
-
Next click on the building icon. This is how you get to the location overview.
-
Click on the gray plus sign on the top right-hand side.
-
In the new window, you now have the option of creating the location based on your own template or using a system template.
-
Now just click on "Save" and the location is set.

Create location based on your own template (available from Professional package and upwards)
To create a location based on your own template, you first have to define it:
-
Click on the layer-symbol on the bottom left-hand side and select "Account settings".
-
Within the account settings, click on the tab "Location template".
-
Click on the + next to "Actions" to create a new template.
-
Enter a title of your choosing and select the location that you want to use as the template.
-
Below that, you have the option of specifying everything that you wish to copy.
-
Now click on save to be able to select the location template when you are setting a new location.
Create location with system template
If you create a new location and select "System template", you can choose between numerous templates.
Here you can choose the template that suits your specific application.
By clicking on "Save", the location is then created and different default settings are initialized based on the selected template. This already includes, for example, created tags, working areas, and shifts.