In order to receive short-time working allowance (KuG) from the Federal Employment Agency, some data must be entered into the relevant forms. With the help of our reports, the necessary values can be displayed quickly.
Create metrics
Firstly, 2 combined metrics must be created, which the reports will then access.
Click on the cogwheel in the left-hand navigation bar (Settings) → Site settings → select the "Reports" tab → now click on the "New combined metric" button.
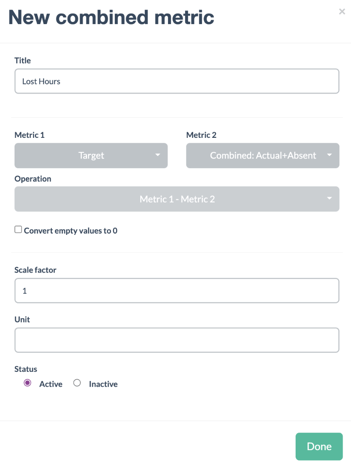
Actual+Absent
Here you first create a combined metric "ACTUAL+Absence" with the following settings:

-
Metric 1: Actual
-
Metric 2: Absent
-
Link: Metric 1 + Metric 2
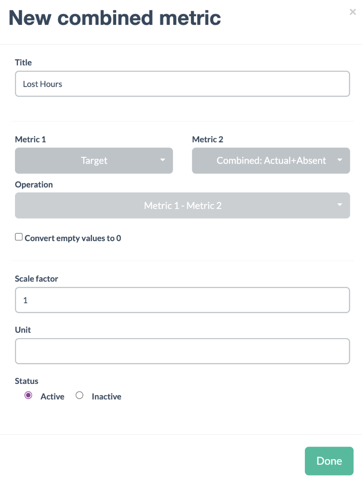
Hours lost
Next, you can create a combined metric "Lost hours":
-
Metric 1: Target
-
Metric 2: Combined: ACTUAL+Absence
-
Link: Metric 1 - Metric 2
Create reports
The necessary reports can now be created.
To do this, click on the Graf symbol (Reports) and click on the plus in the top right-hand corner.
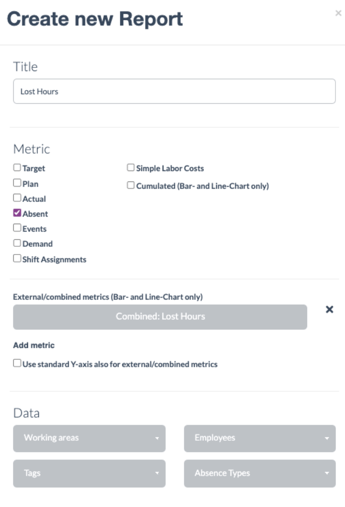
Here you can now create two reports to analyse the data required for the employment agency forms. It is best to name the reports after the input fields of the forms, i.e. lost hours and sick pay hours.
Lost Hours
When making the settings here, it is important that you select all types that are not being worked on in the "Absence types" selection. For example, if you have an absence type to record training or certain work appointments, these must not be counted.
For the period, select "Last month", under Grouping select "Employees" and for the interval select "Last 7 days".
The report should look something like this:

IMPORTANT: If you also see bars for the values "Employee name: Absence hours", you can simply ignore these values. You can hide them by clicking on the corresponding descriptions below the report.
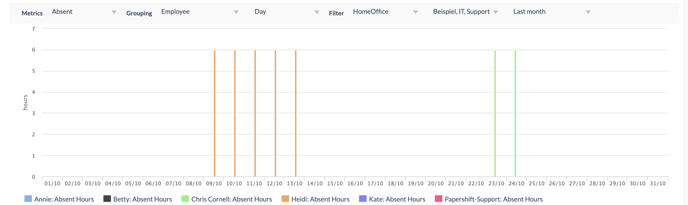
Sick pay hours
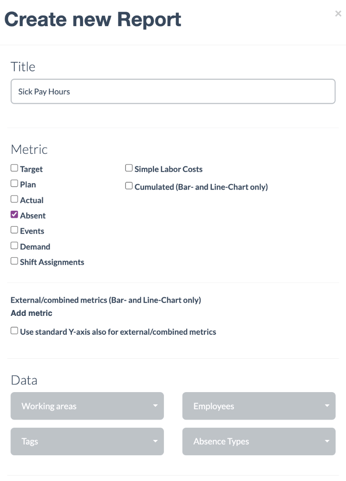
The report should look something like this:
You can now enter the values from these two reports directly into the form in the corresponding columns.
If you have any questions about the reports add-on or need help creating your own reports, you are welcome to contact our support team at any time.