There are multiple ways to create tags, which we will detail in this article.
Via the calendar
Create a tag in a shift
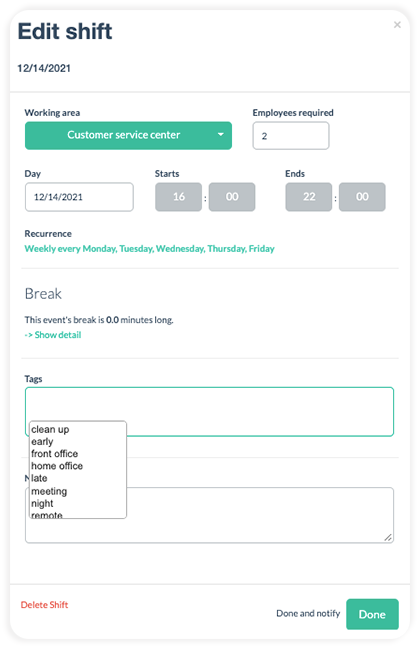
If you haven't yet created a tag, you can create the first one directly in a shift.
Hover over a shift and click on the small settings wheel → "Show Tag and Notes Field" → write the name of the tag you want to create → hit enter → click on "Done".
You can continue to create any further tags in this way.
Create a tag in the calendar
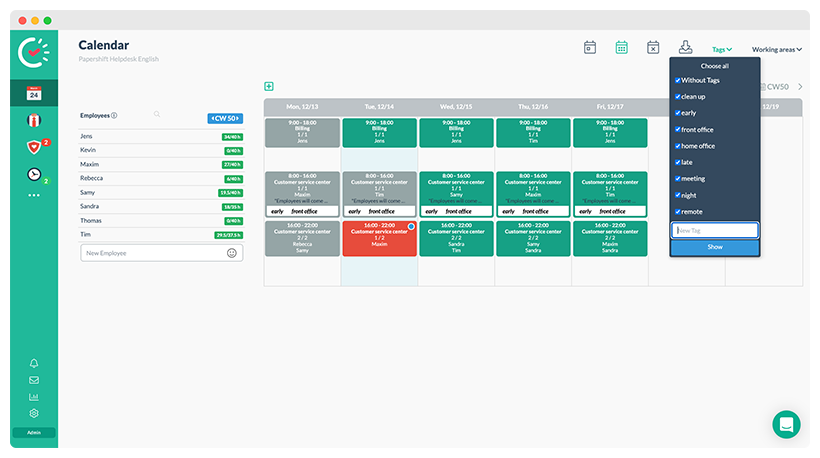
If a tag has already been created, you will see the "Tags" option next to "Working areas" in the top right corner. You can create a tag by clicking on "Tags", writing the name of the tag into the white text field, and hitting enter.
Location Settings
If a tag shouldn't be directly assigned to a shift, you can also create it in the location settings.
Click on the settings wheel in the bottom left → location settings → "Scheduling" tab → scroll down to tags → click on the green "Create new tag" button → write the name of the tag → done.
The working areas are first sorted numerically and then alphabetically. The status shows you whether a tag is active and can therefore be used in the roster, or whether the tag is visible.
You can change the name of the tag by clicking on the blue settings wheel. The green button hides the tag. We recommend this option as previous time trackings and shifts using the tags will still be shown. You can delete the tag with the red "X" button.
IMPORTANT: In the location settings → "Time tracking" tab, you can also allow employees to create their own tags.
Employee profile
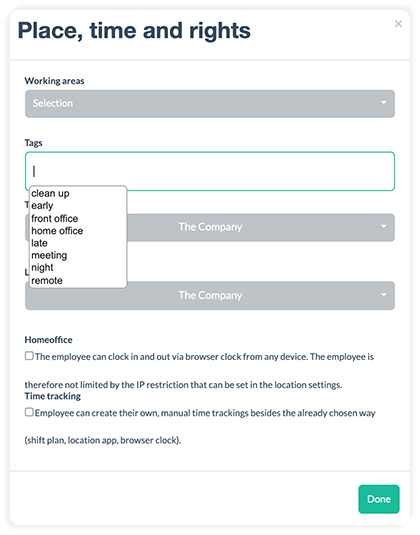
Click on the employee symbol on the left → click on an employee's name → go to "general" → click on the pen icon next to "Place, time and rights" → write the name of the tag into the tag field → hit enter → done.
These tags can be used in the roster to filter employees or to select the right employees when using the automatic planning.