The challenge
If the way of time tracking in the employee overview is changed to "via browser-time clock", this initially works without problems, but after some time the employee might be automatically changed back to "via iPad-time clock". This happens when the app synchronizes with the database.
To make sure that the time records of the employees in home office are created correctly, we have a little trick for you:
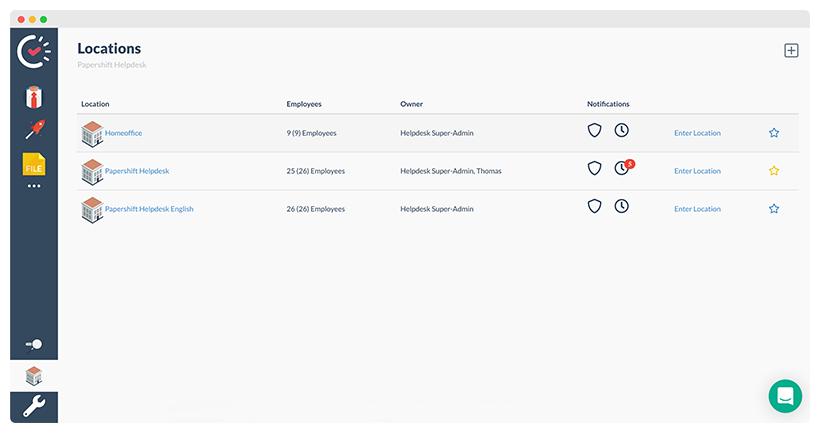
Create a separate location
First, create a new location. Here you can read how to do this.
Standard Time Tracking Mode
Click on the gear icon (Settings) in the left navigation bar → Location-Settings → click on the "Time tracking" tab → in the "Settings" section → activate the option "Browser-time clock is the default mode for creating time tracking" and confirm with "Done".

Rename location
While you are in the Location-Settings, you can also change the location name directly in the "General" tab, for example to "Home office".
Copy employees to location
Next, you can add all employees who should record their time while in home office to this location. A description of how to do this can be found here.
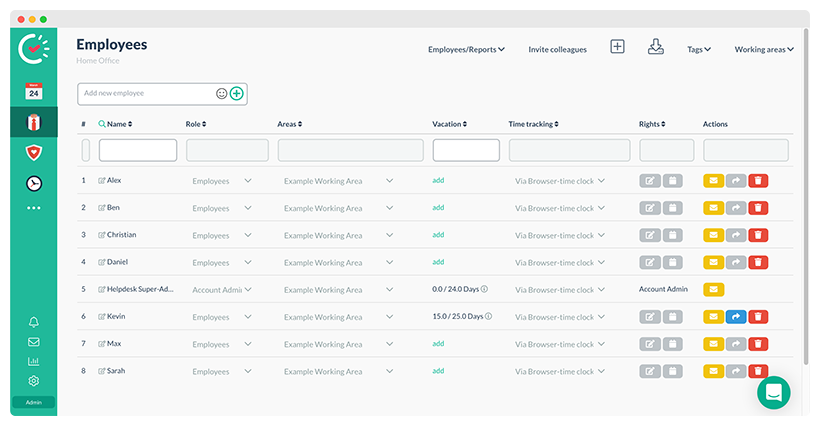
For all employees in this location, the time tracking is now set to "Via browser-time clock".
Steps for employees
If all employees in your company have only been using one location so far, you have to explain to them how they can change the location in Papershift.
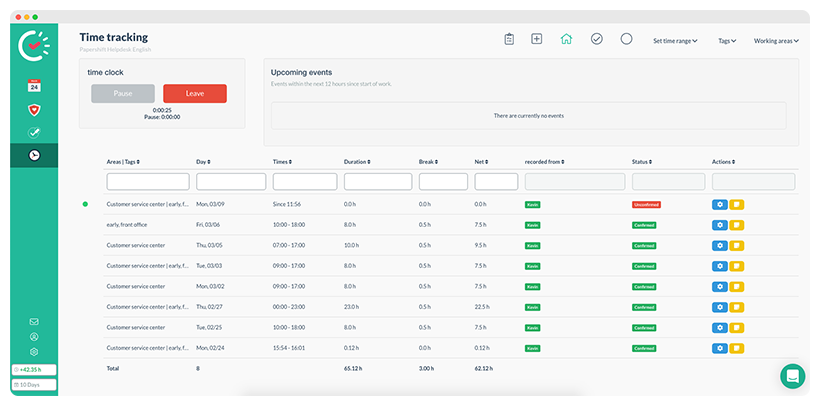
If the employees are now in the correct location, they will see the buttons to use the browser-time clock in their time tracking overview.
Deactivate location
If remote working should only be used for a certain time, you can deactivate the location afterward. This ensures that your employees do not continue to track times via the browser after the policy expires.
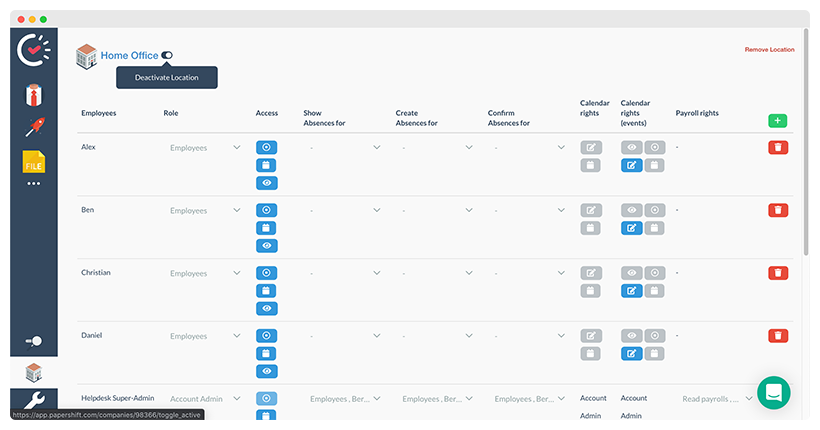
To do this, click on the gear icon (Settings) in the left navigation bar → Account settings → House symbol (Locations) → click on the name of the location → then click on the slider next to the location name to deactivate the location → then confirm again.